Easy WordPress theme deployment using Deployer
AuthorNino Mihovilić
DateJun 15, 2021
In this article, I’ll show you an easy and fast way how to set up WordPress theme deployment without downtime using Deployer in 5 steps.

Step 1 – Setting up Deployer
Deployer is a simple open-source PHP-based deployment tool. It’s easy to use and set up.
There are multiple ways to install the tool on their website but the easiest way is to run these 3 commands:
curl -LO https://deployer.org/deployer.phar
mv deployer.phar /usr/local/bin/dep
chmod +x /usr/local/bin/dep
To check if everything is installed ok run the command:
depStep 2 – Setting up the Server
In this tutorial, we will be using AWS Lighstail, but you can use any other server.
The only requirement is that you have SSH Access.
Creating an instance – you can skip this part if you have a server and SSH access
Log in to your AWS account and search for Lightsail in the search bar.

Create an instance using the WordPress blueprint and Linux platform. When the server is up and running, open the server terminal and add your public SSH key to the ~/.ssh/authorized_keys file.
Setting up GIT
We need Git on the server because Deployer will pull the theme from the repository.
As we are on a Linux-based server, the command to install git is:
sudo apt-get install gitTo verify the installation run the command:
git --versionStep 3 – Setting up SSH Agent Forwarding
To be able to pull the repository, the server needs access to it. We can use deploy keys or SSH Agent Forwarding. Both ways are pretty straightforward when it comes to the set up, but we will go with Agent Forwarding in this tutorial.
On your local machine position yourself in the ~/.ssh folder. If it doesn’t exist, create a file named “config”.
Enter the following text into the file, replacing example.com with your server’s domain name or IP:
Host example.com
  ForwardAgent yes
The key must be available to ssh-agent. You can check that by running the command:
ssh-add -LIf the command says that no identity is available, you’ll need to add your key:
ssh-add yourkey*For your server SSH Agent Forwarding troubleshooting refer to this tutorial -> Using SSH Agent Forwarding
Step 4 – Setting up deploy.php
Deploy.php is the main config file for Deployer. As we want to only deploy the WordPress theme, we will put the deploy.php in the theme root.
Position yourself in the theme root and enter the command:
dep initYou will need to provide some basic info. Choose the 0 – Common script as it has the basic stuff that we need.
Next, enter your theme repository. In the repository, only the theme files should be present.
In the last step, you can choose to submit anonymous usage information to the PHP-Deployer community.
Now we have the basic deploy.php file. We will do some changes to make our script work.
First, let’s name our application/theme:
set('application', 'my_project');We can enter anything but let’s put our theme name: “super-theme”.
We will set a new variable:
set('theme_dir', 'path_to_themes_folder');Here we need to enter the server path to the themes folder. In our example, we used AWS Lightsail with preinstalled WordPress so the path is: “/home/bitnami/apps/wordpress/htdocs/wp-content/themes”.
Next, we set the host and modify it:
host( 'project.com_or_IP' )
    ->set( 'branch', 'master' )
    ->user( 'bitnami' )
    ->set( 'deploy_path', '~/{{application}}' )
    ->forwardAgent();
We can use the domain name or IP for the host. We set up the branch that we want to deploy, the SSH user in our case “bitnami”.
The deploy_path contains the deployment path on the server that can be left as is, and we enable Agent Forwarding so that our local SSH key is used for pulling the repository on the server.
For our script, we need to add an additional task that symlinks the current folder to the themes folder so that we can have the latest theme active after the deployment.
task( 'deploy:theme', function () {
    run( 'ln -sfn {{deploy_path}}/current {{theme_dir}}/{{application}}' );
} );
The last part is to add the created task to the main task “deploy”.
task( 'deploy', [
    'deploy:info',
    'deploy:prepare',
    'deploy:lock',
    'deploy:release',
    'deploy:update_code',
    'deploy:shared',
    'deploy:writable',
    'deploy:vendors',
    'deploy:clear_paths',
    'deploy:symlink',
    'deploy:theme',
    'deploy:unlock',
    'cleanup',
    'success'
] )->desc( 'Deploy your theme' );
We added the “deploy:theme” task after the current symlink is created.
The whole file should look something like this:
<?php

namespace Deployer;

require 'recipe/common.php';

// Theme name
set( 'application', 'super-theme' );

// Theme repository
set( 'repository', 'git_repository' );

// Theme directory
set( 'theme_dir', '/home/bitnami/apps/wordpress/htdocs/wp-content/themes' );


// [Optional] Allocate tty for git clone. Default value is false.
set( 'git_tty', TRUE );

// Shared files/dirs between deploys
add( 'shared_files', [] );
add( 'shared_dirs', [] );

// Writable dirs by web server
add( 'writable_dirs', [] );
set( 'allow_anonymous_stats', FALSE );


// Hosts
host( 'project.com_or_IP' )
    ->set( 'branch', 'master' )
    ->user( 'bitnami' )
    ->set( 'deploy_path', '~/{{application}}' )
    ->forwardAgent();


task( 'deploy:theme', function () {
    run( 'ln -sfn {{deploy_path}}/current {{theme_dir}}/{{application}}' );
} );

/**
 * Main task
 */
task( 'deploy', [
    'deploy:info',
    'deploy:prepare',
    'deploy:lock',
    'deploy:release',
    'deploy:update_code',
    'deploy:shared',
    'deploy:writable',
    'deploy:vendors',
    'deploy:clear_paths',
    'deploy:symlink',
    'deploy:theme',
    'deploy:unlock',
    'cleanup',
    'success'
] )->desc( 'Deploy your theme' );

// [Optional] If deploy fails automatically unlock.
after( 'deploy:failed', 'deploy:unlock' );
Step 5 – Testing our Script
To run our script we enter the command:
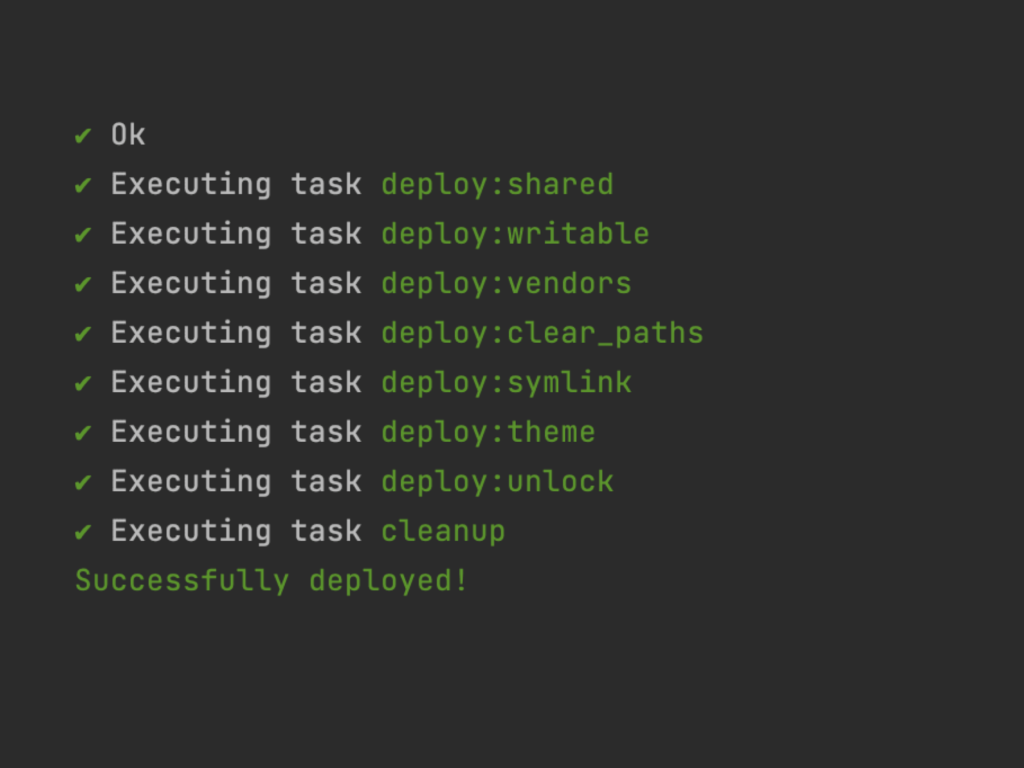
dep deployIf everything is successful it should look like this:
dep deploy -v, provides default installation view with the least information
dep deploy -vv, provides some more details as compared with the default mode
dep deploy -vvv, provides a detailed view of the installation output
Conclusion
Those are the 5 steps for a fast deployment setup for a WordPress theme.
If you use the same server for all of your projects you can set up this only once and only modify the variables in the deploy.php file.
There are many ways to manage a WordPress theme and set up deployments. I find this an easy way to quickly set up the workflow, what do you think?